Raspberry Pi KIOSK(6)KIOSKセットアップ
2018/09/30 追記:Raspberry Pi上でのビルドは必須ではありません。Windows上のVisual StudioでビルドしたEXEをそのまま実行できます。
この作業の前にRead-only Root-FSを書き込み可にします。
sudo mount -o remount,rw /mnt/boot-ro
sudo vi /mnt/boot-ro/config.txt
最後の行のinitramfs initrd.gzをコメントアウトして再起動する
sudo reboot
Raspberry Piの画面をWindowsのリモートデスクトップとして表示してファイルマネージャを起動します。

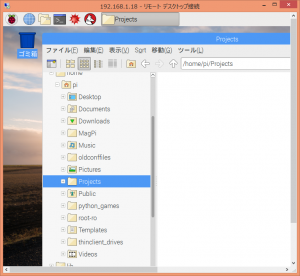
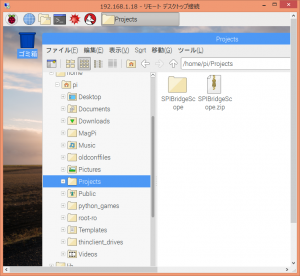
WindowsのVisualStudioで作ったSPI Bridge Scopeをソリューションごとzipにまとめてコピーし、Raspberry PiのファイルマネージャのProjectsディレクトリにペーストしてzipを解凍します。ドラッグ&ドロップは使えません。コピー&ペーストです。
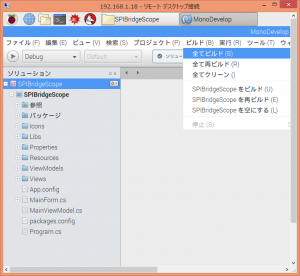
解凍したディレクトリの中の「SPIBridgeScope.sln」をダブルクリックしてMonoDevelopでソリューションを開きビルドします。(2018/09/30 追記:Raspberry Pi上でのビルドは必須ではありません。Windows上のVisual StudioでビルドしたEXEをそのまま実行できます。)
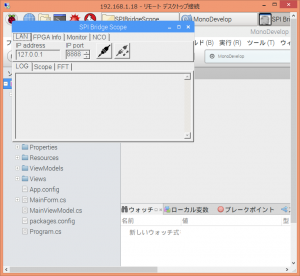
実行してみます。
Raspberry Pi3でキオスク端末(自動ログイン+ブラウザ起動)を作る。の手順を真似させていただきました。ブラウザの代わりにWindowsのVisualStudioで作ったexeを起動するようにします。
自動的にカーソルを消すようにします。
sudo apt-get install unclutter
自動的にSPI Bridge Scopeを起動します。
vi ~/.config/lxsession/LXDE-pi/autostart
@lxpanel --profile LXDE-pi
@pcmanfm --desktop --profile LXDE-pi
@xscreensaver -no-splash

@xset s off
@xset -dpms
@xset s noblank
@unclutter
@mono /home/pi/Projects/SPIBridgeScope/SPIBridgeScope/bin/Debug/SPIBridgeScope.exe
How to configure certain programs to always open in full screen?の手順に従って、起動するexeを全画面表示にします。
vi ~/.config/openbox/lxde-pi-rc.xml
  # end of the example
-->

    <application title="SPI Bridge Scope">
        <fullscreen>yes</fullscreen>
    </application>

  </applications>
</openbox_config>
これで電源投入後、WindowsのVisualStudioで作ったexeが自動的に全画面表示で実行されるようになりました。Alt+F11キーで全画面表示を解除できます。
Read-only Root-FSを書き込み不可に戻します。
sudo vi /boot/config.txt
最後の行のinitramfs initrd.gzのコメントアウトをはずして再起動する
sudo reboot
